
The Final Print: Teaching my 3d Printer to Become a Pen Plotter.
What do you do with your 3D printer when the extruder cracks and it can no longer push filament to a tiny heated hole? If it's Otherwise worn out and slightly unreliable, you go to amazon.com and find the cheapest metal replacement and then install it two days later. Now that you're back to printing again, you realize what you were doing wrong all along with the extruder starts clicking away on your first layer. I turns out that you weren't using enough of an offset on your Z-Axis all along and the failing plastic extruder kind of compensated for it.
I lost the SD card I used to do my calibration prints, one for setting the Z offset and other for test printing a first layer to check for even adhesion. There just didn't seem to be a perfect match for either one and then it occured to me, maybe I could just ask Claude to make me one. I didn't realize that G-Code was a human readable text file, mostly because I never thought to look into it.
Prompting Claude for a usable Z-Axis setup file was really effective and what it gave me was very similar to the original one that I eventually found a copy of. If I could get it to generate a setup file, I wonder what else I could do with it? Could I convert my 3D printer to a pen plotter and use custom G-Code to draw?
Hacking a Printer into a plotter.
All I needed to do was figure out how to attach a pen to my 3D printers X axis, the one that the extruder is attached to. An obvious solution was just make a mount for a pen that clamps onto the extruder housing and then some sort of elastic or spring mount for the pen to control how much force it can put into the paper. My original design used a spring, but you can see in the video below that I replaced it with a rubber band (Good Enough).
It's just G-code
I asked claude to create some custom G-Code for it.
For a successful plotting; the trick is in the prompt, you've got to give it some important information about the 3D printer.
- Print bed dimensions to keep the drawing on the bed.
- Z offset of the pen, because the tip is lower than the printer head.
- Pen down Z Axis
- Pen up offset Z Axis
- The amount to lift the pen when not drawing
- How fast to move the pen when drawing and when jumping
- How high to lift the pen when moving from home position so it does not impact the bed edge
- Don't turn on the bed or extruder heat
- Don't move the extruder
I think that it tried to argue with me that I can't make a 3D printer draw. So I told it to try anyways after explaining what I built.
"The Alphabet"
This is the first thing I plotted.
Here is an example of some image -> drawing code that Claude produced:
Rhyolite Ghost Town Bank

I converted this image to a drawing using a brightness to hightness algorithm
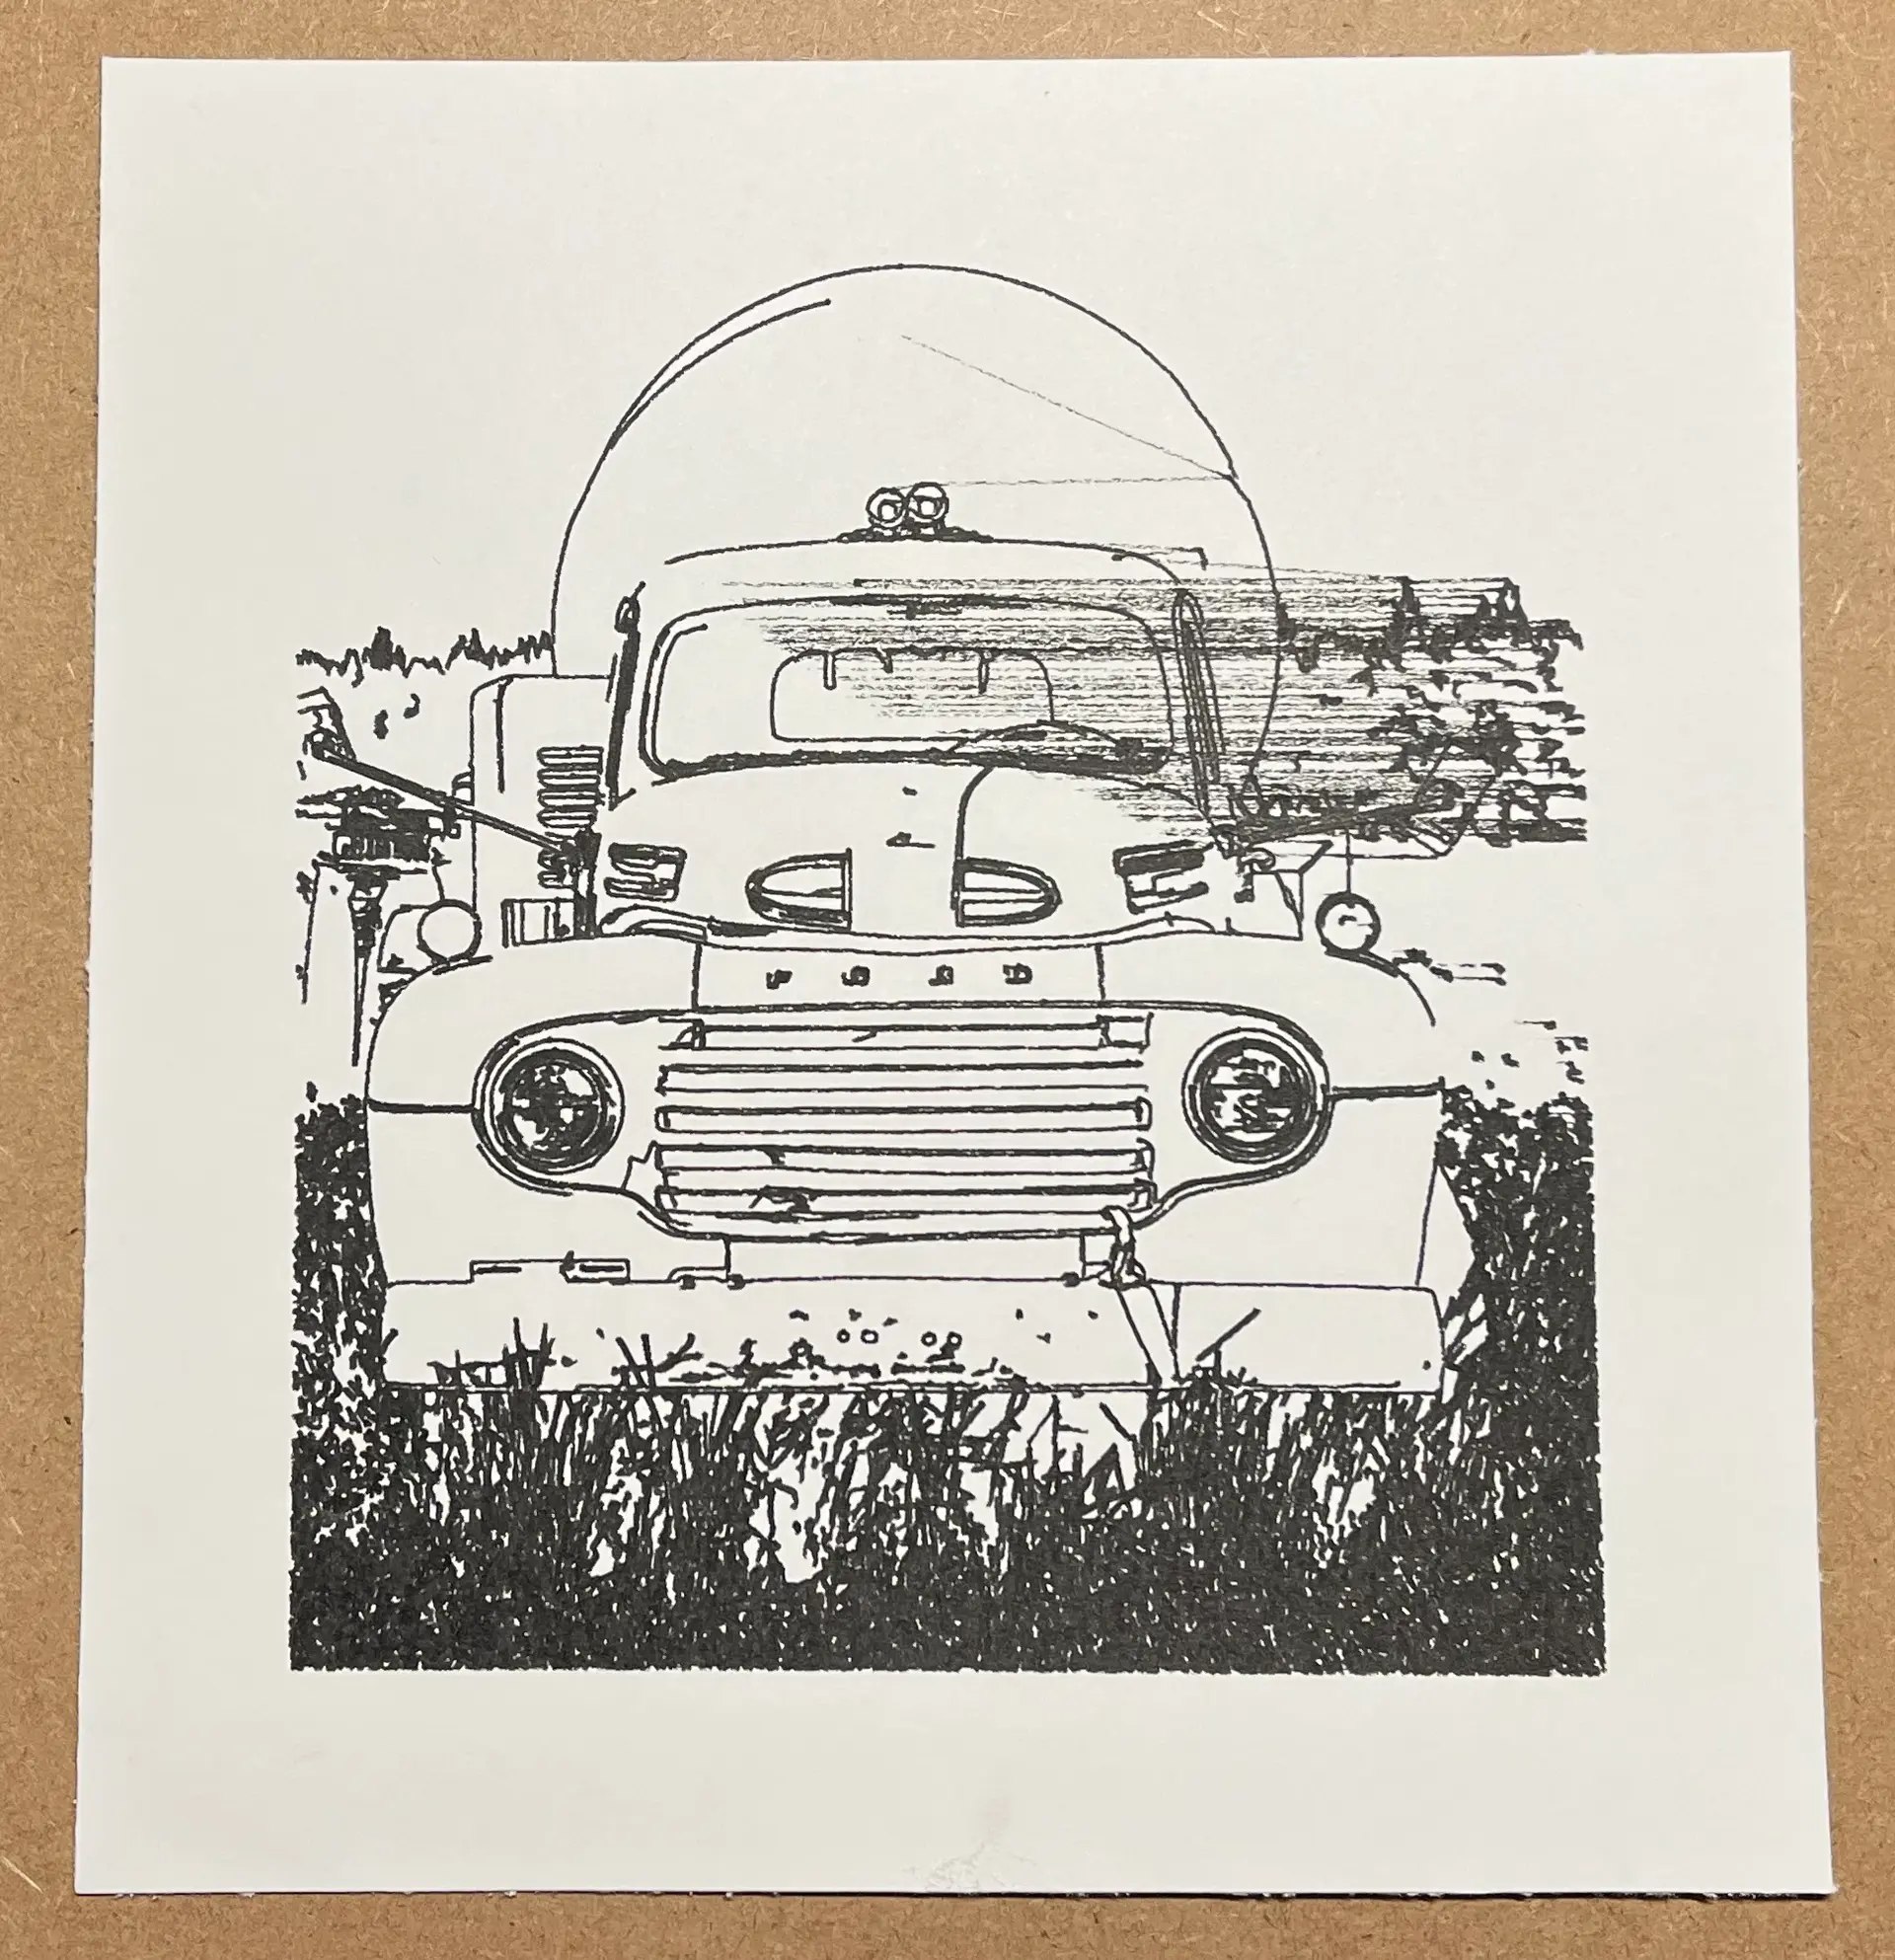
A truck in a parking lot near Burney Falls, CA

For this drawing I just used edge detection. The image has some really nice outlines, but you can see where the pen dragged on the paper on the right side of the cab.
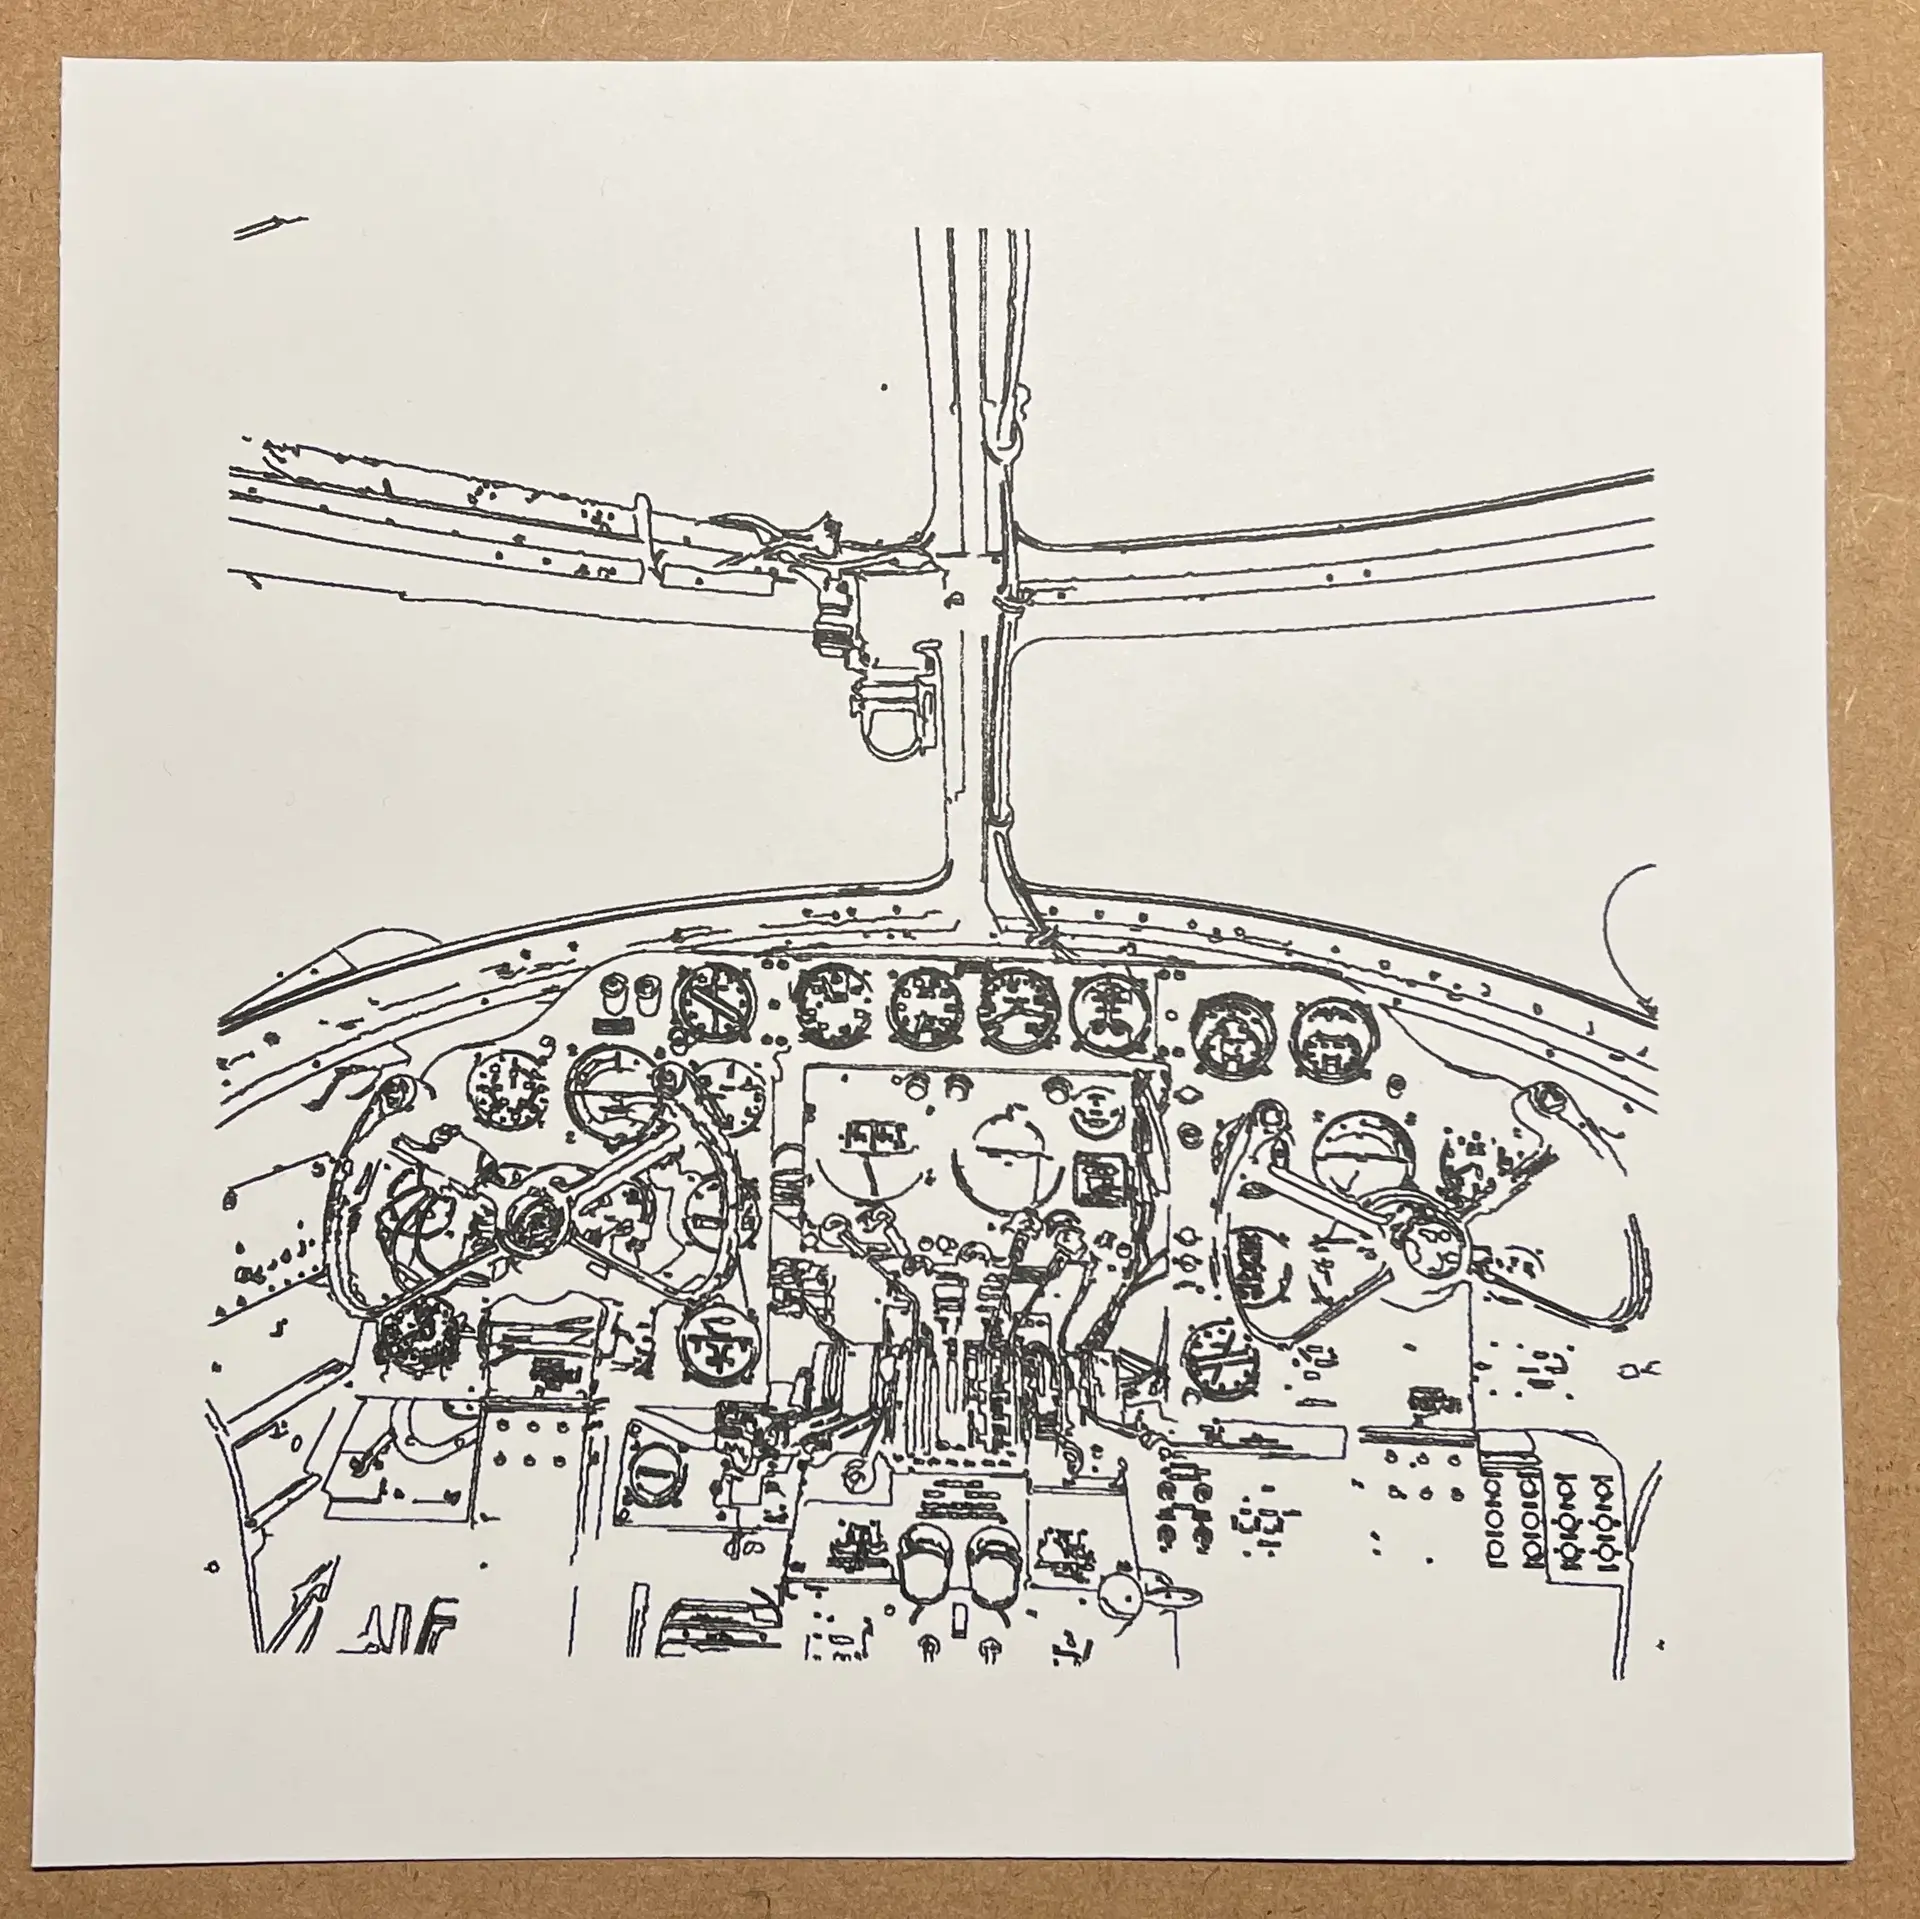
The interior of an old airplane
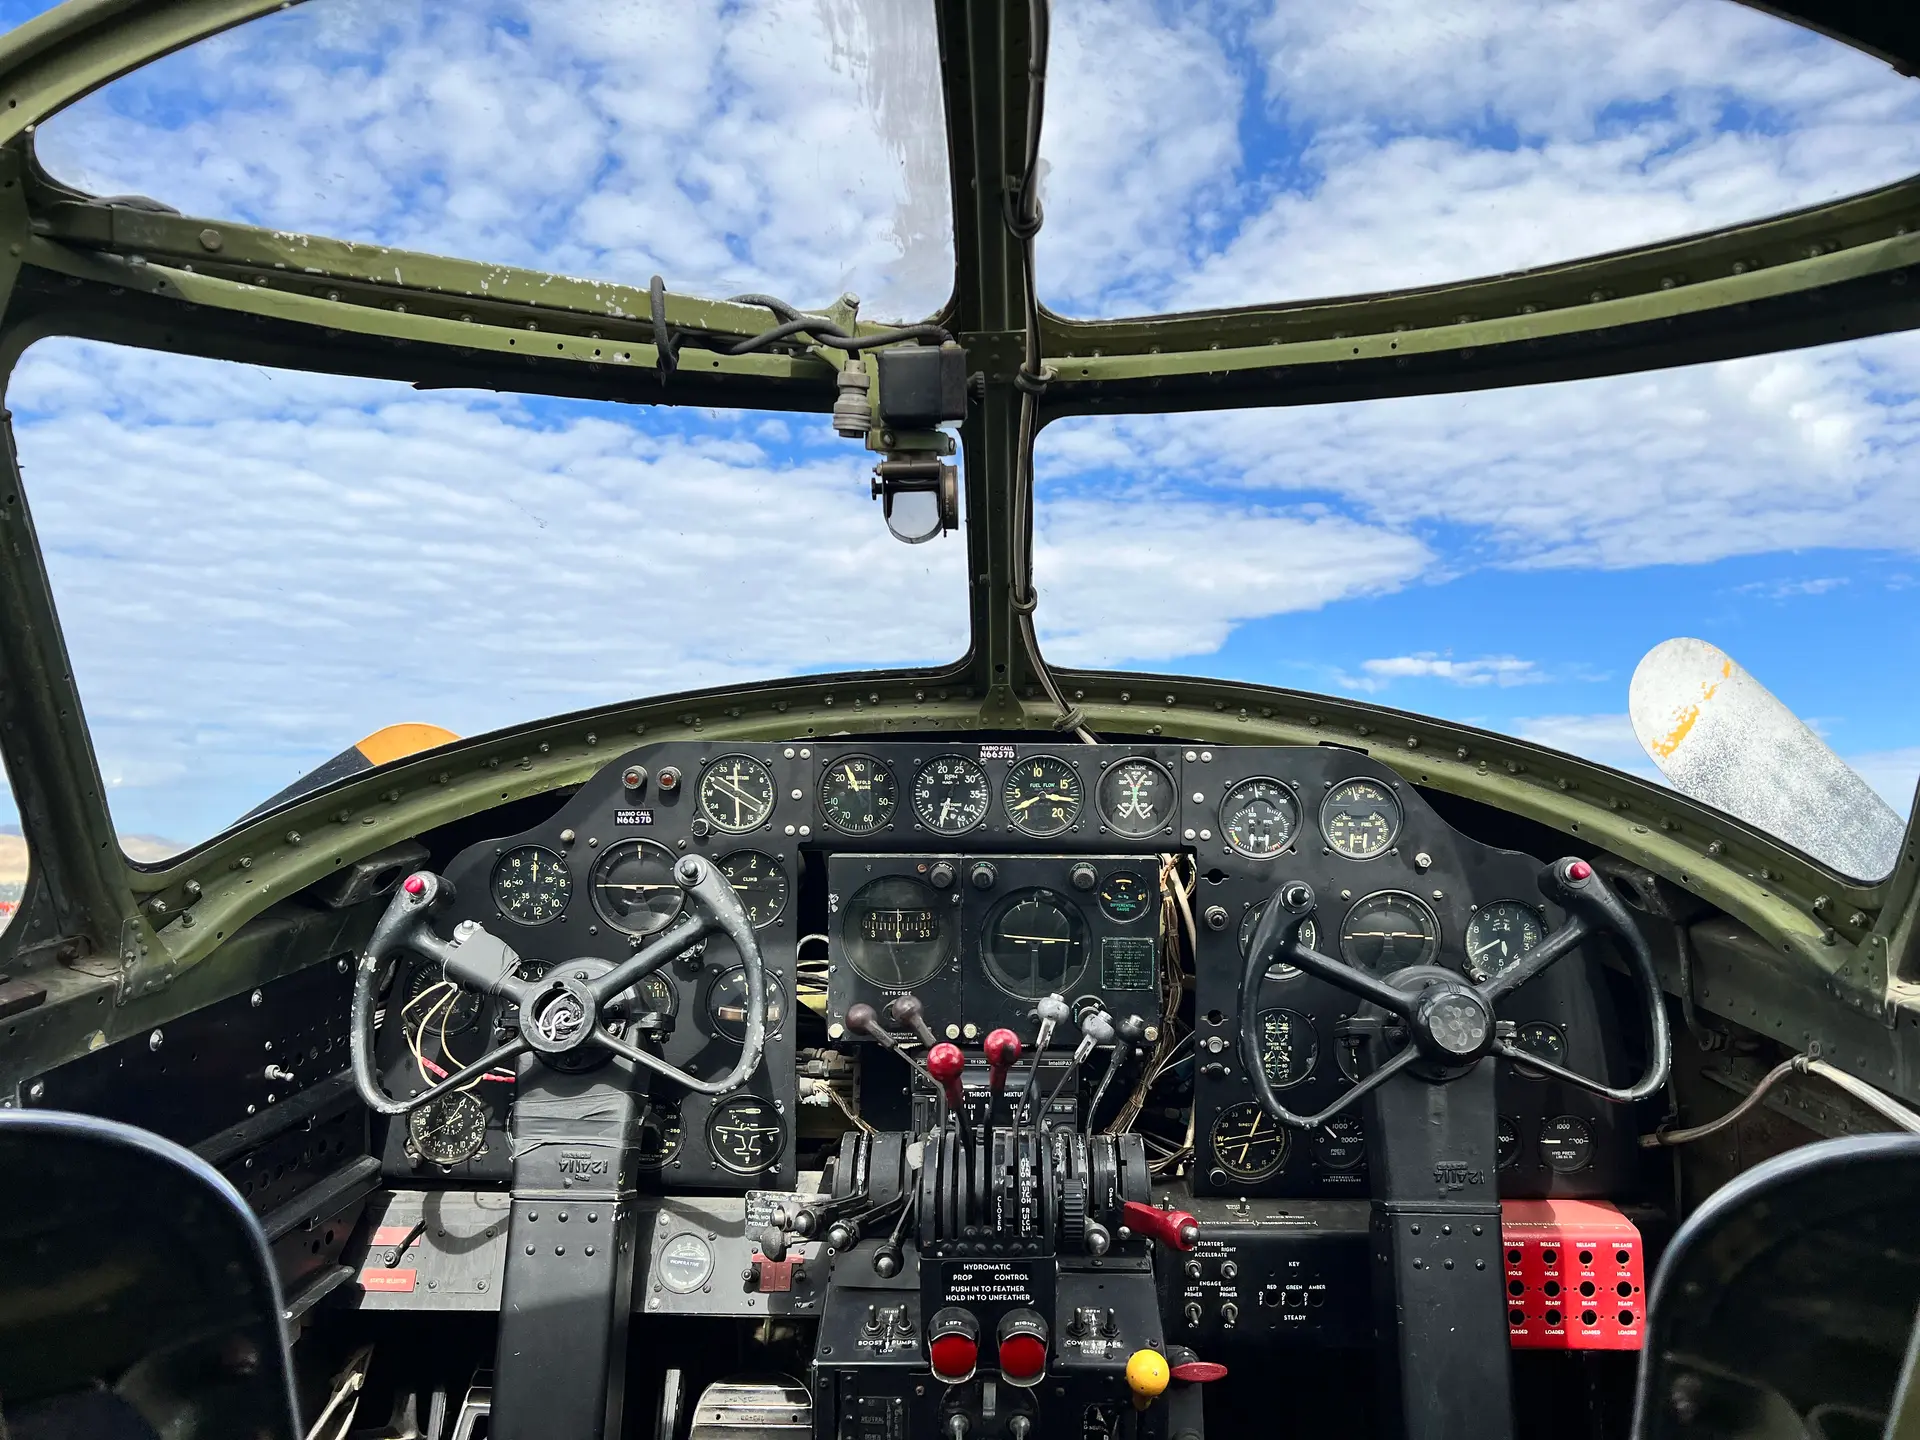
Same here with the edge detection, the cockpit and instruments are really suited for this kind of transformation from image to outline.
Can you guess what this is?
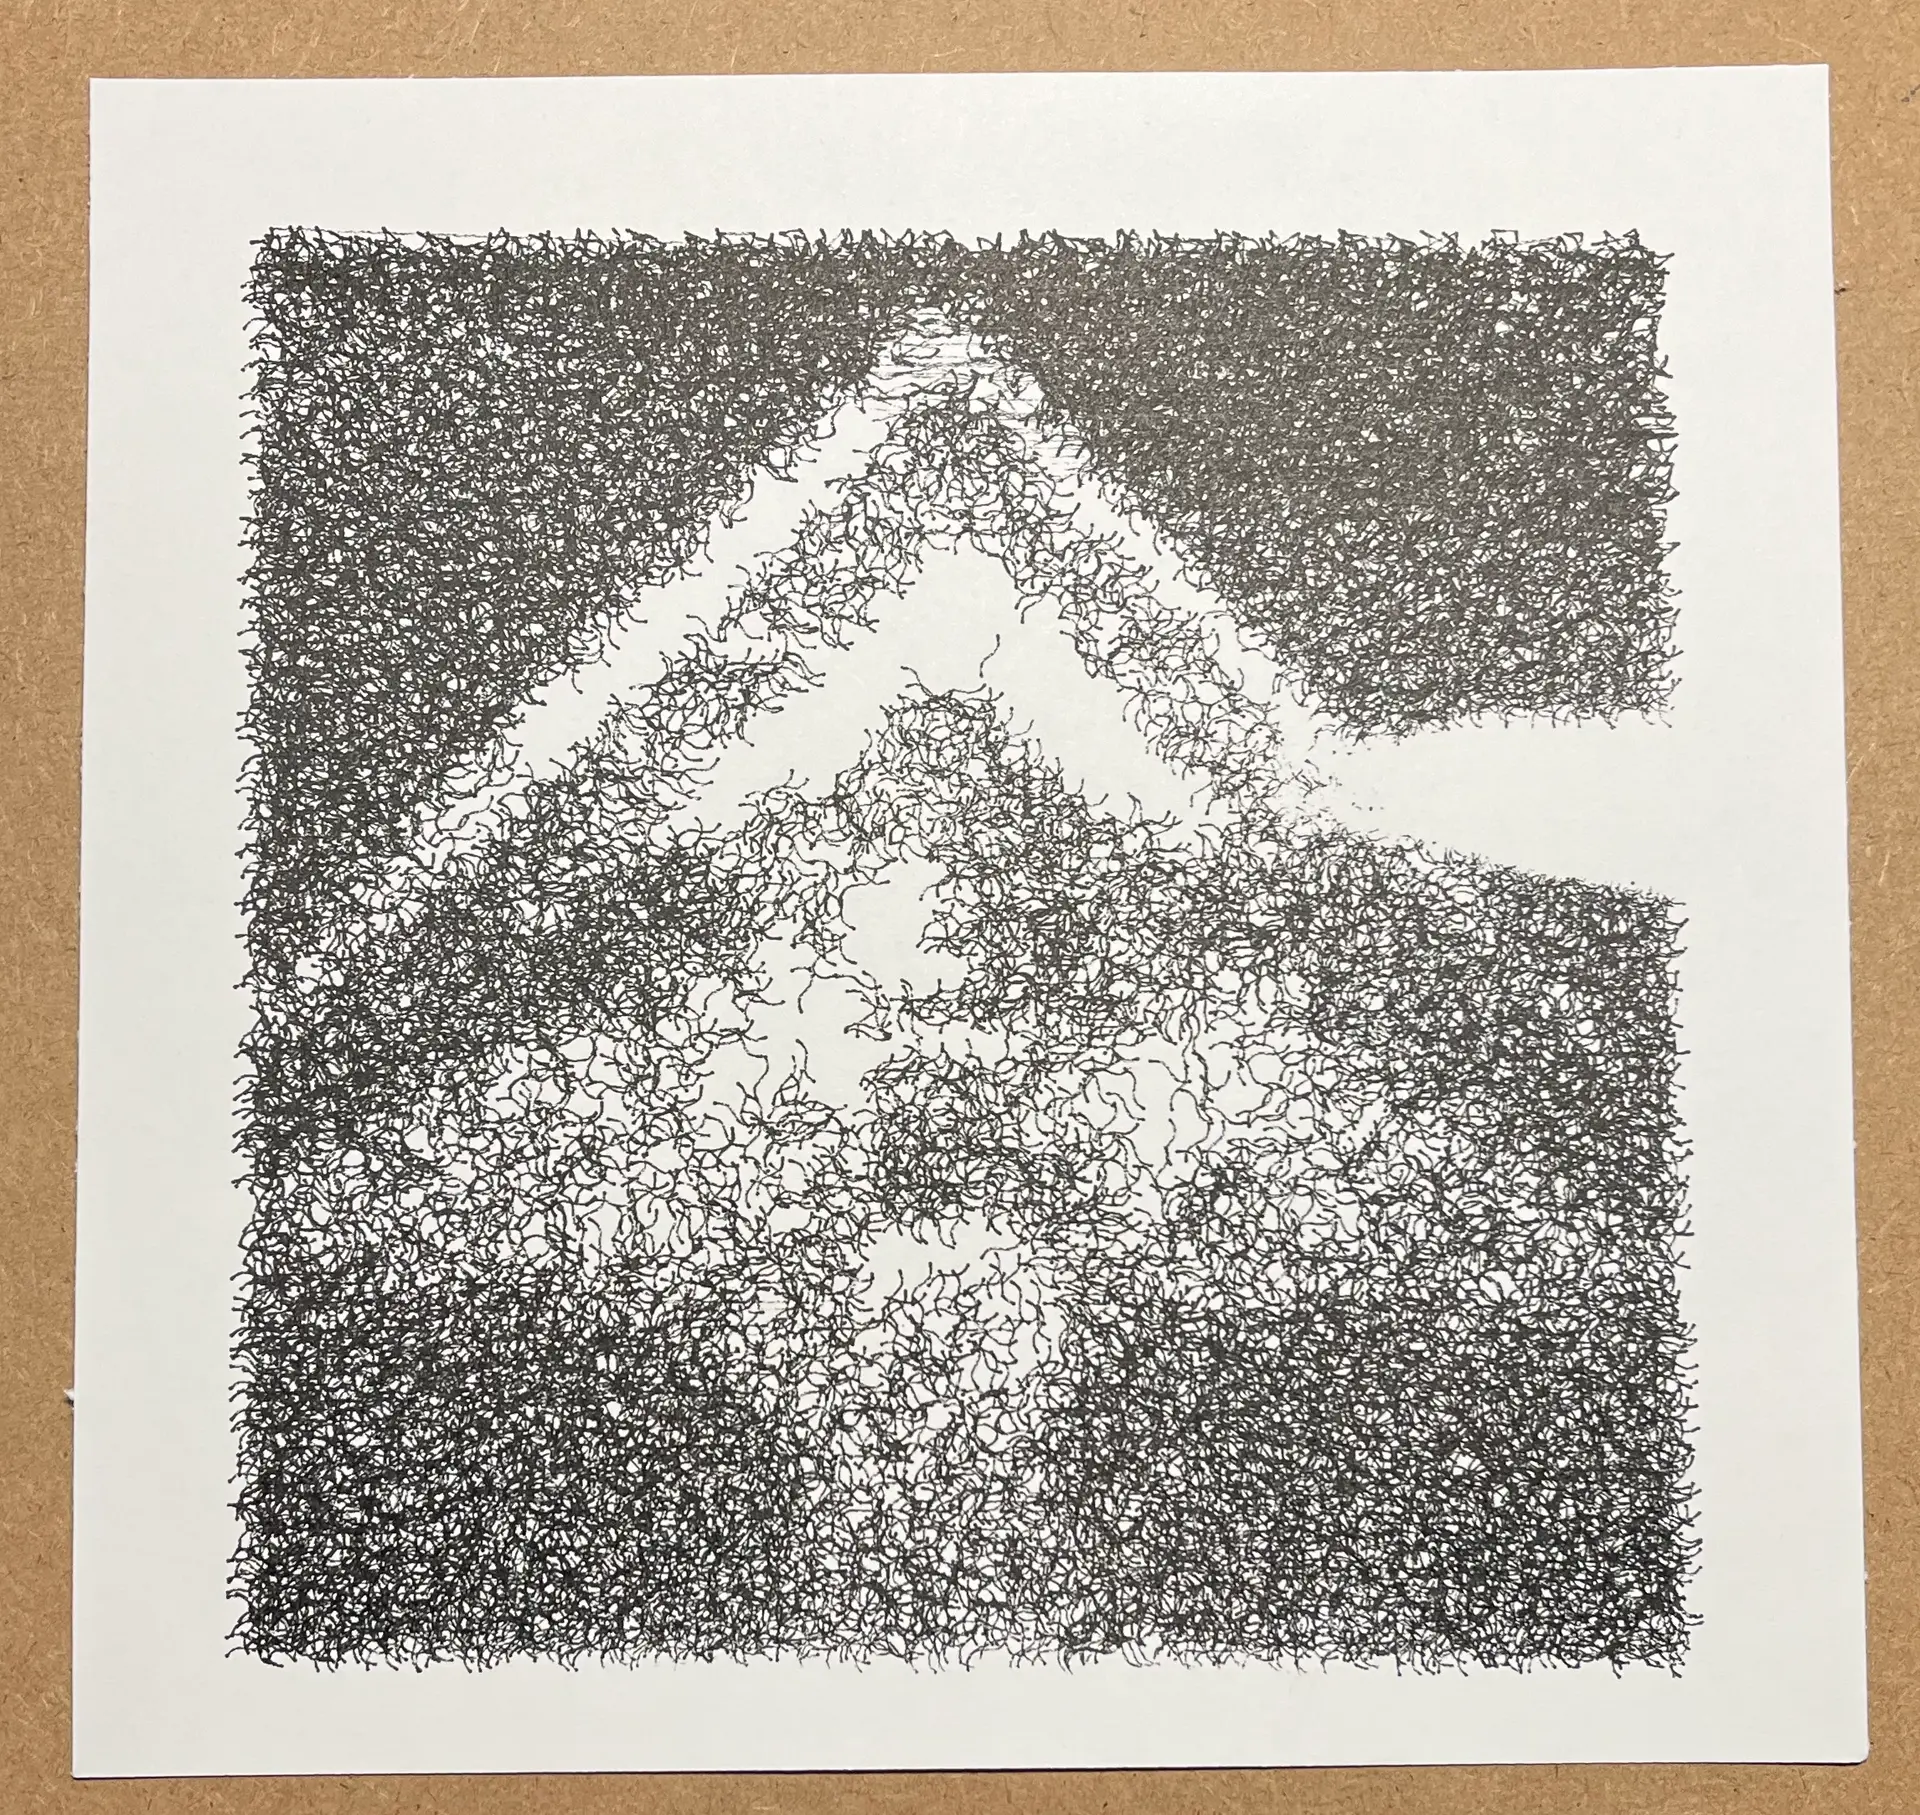
Or this?

Trying to swap pens mid-print
This is what made me think to set up a minimum height for home to first pen down and create a calibration print. You can create multiple G-Code files, or a file with pauses to swap pens and create multi-layer drawings. This first attempt was a bit of a failure.
It's probably a good idea to make pen calibration G-Code program. Setting up the pen pressure correctly makes for higher quality prints. Additionally, make sure that the paper is flat. I used the edges of the magnetic print surface to holder paper folded over the edges of the plate. Unfortunately this method causes the paper to bow. Use clips.